Um. Super cute and versatile!
Here are the layouts that my club members get to create in June using our standard club which, consisting of the Jackson Workshop On The Go kit and the matching Jackson Complement stickers - tons of products are included in the kit...cardstock, BT (Background/Texture pattern paper), an exclusive stamp set you can't purchase anywhere else, two adhesive embellishments, and a bonus workshop guide. Simply click the links above to purchase these two items.
We usually have one regular layout and one 'quick' layout, to remind ourselves that not every layout needs to have bells and whistles. If you have great color, coordinating products, and space for photos and journaling, you'll be great! :)
Here is the first, main layout:

Left Page, with a Barn Red photo mat, perfect for a 5x7 picture!

Close up of pocket embellishment. Simply cut 1" strips of Colonial White cardstock, grab a sponge and Chocolate stamp pad, and distress! (Tip - the Colonial White featured in this layout is cut 11x11 and mounted on Cocoa cardstock, so you have 1" strips already!) Scissor cut the ends and add adhesive arrow stickers from the workshop kit above. The 'Notes' piece is also a sticker from the Complements package. Attach it to the Juniper piece of cardstock, then attach that to the BT paper using our Mini Stapler - just leave the top 'pocket' open. Then add another round of staples along the bottom and right edge only - don't adhere the whole piece down - so that if you have a 5x7 photo to include on the Barn Red photo mat, you can slide it under the pocket.

I love this look - a simple strip of the striped B&T paper included in the kit can look like a sign post, simply by distressing with a sponge and Chocolate stamp pad. The phrases are all stickers from the Complements sheet. So easy!

Right Page, with two Barn Red photo mats, ready for your 4x6 pictures!

Second, 'quick' layout. No photo mats, just lots of wide-open space for you to add photos and journaling anywhere you'd like.

Left page, featuring a sticker from the Complements sheet and two pieces of BT matched in the center, with outside corners rounded. Top is a 1/2" 'zip strip' cut from our BT.

Our 'Captured Memory' title piece is another sticker from the Complements sheet, with the outside edges notched and scissor cut, layered on Barn Red cardstock. It's also lifted off the page with our 3D Foam Tape for added dimension, and finished off with cute arrow stickers below.

Right page, featuring the same zip strip and paper dimensions.

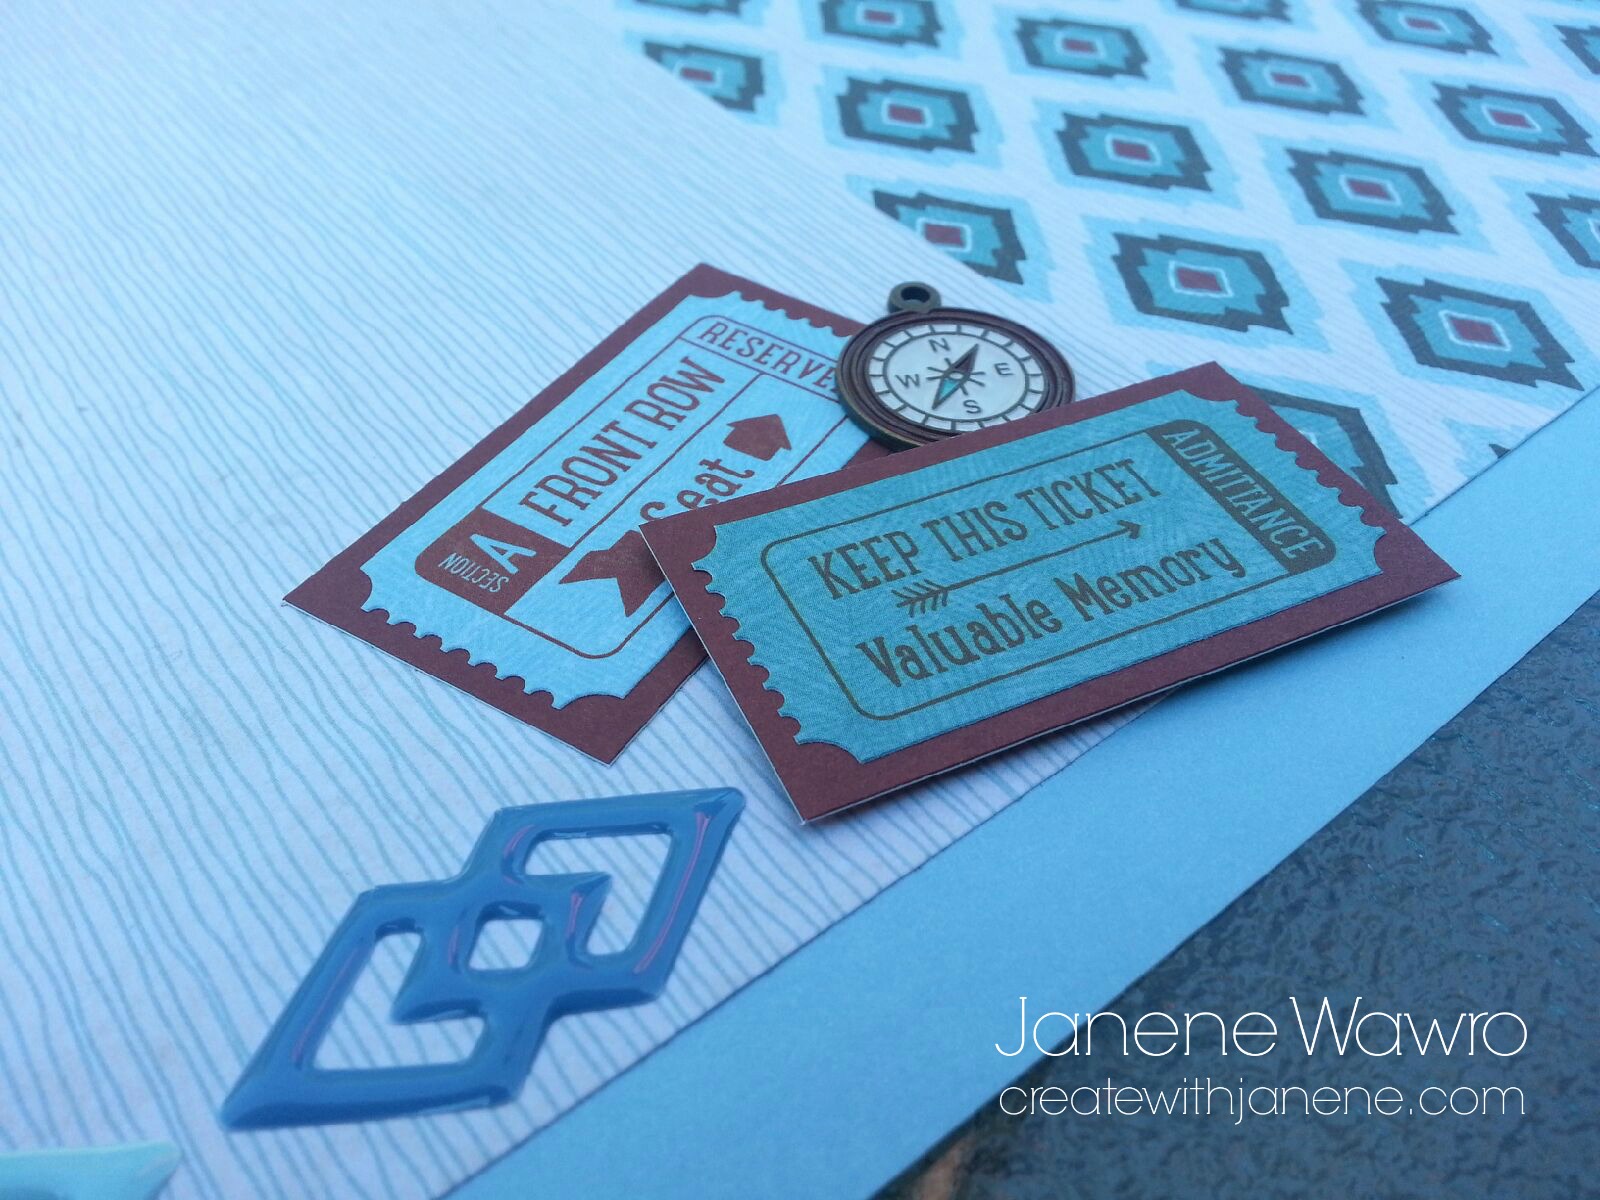
An eye-catching embellishment group will add a lot to a simple layout. The two tickets are stickers from the Complements included, and mounted on Barn Red cardstock. Finish off with really cute aztec sticker embellishment and a metal compass, all included in the Workshop kit!
You can purchase a 1-page pdf handout for this workshop, which includes all of the paper cutting sizes for both layouts, photos of the basic layouts, and a few tips on assembly for just $3.00. Simply click the "Buy Now" button below and it will be emailed to you.